Collector guide
Applying waterslide decals
How to put the markings on a kit — gloss surface, warm water, setting solutions and a sealing coat — following the kit, paint and decal makers’ instructions.
Facts last checked 19 November 2026
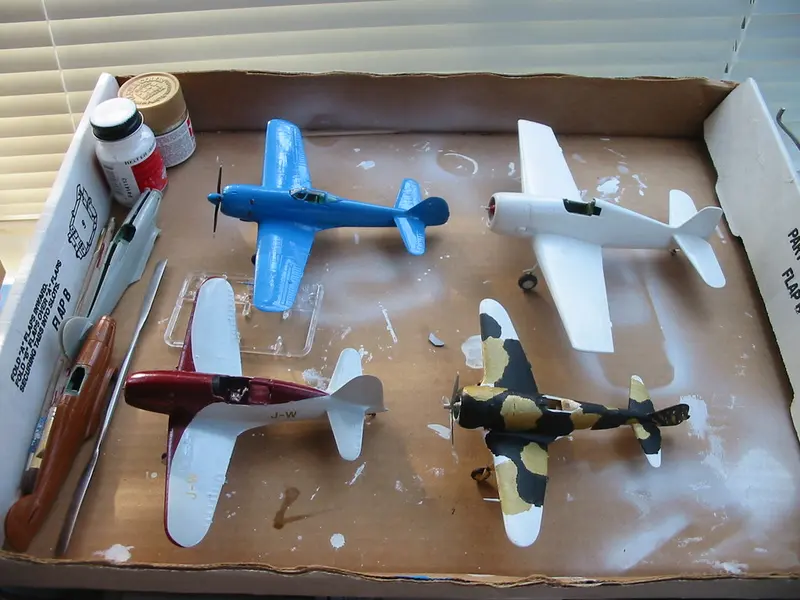
Most kits come with waterslide decals: printed markings on a thin film, carried on backing paper and released with water. On a display-team jet they carry much of the colour scheme, and aftermarket sheets such as our Thunderbirds decal sheets let you model a particular aircraft or season. Some kits include Thunderbirds markings as one of several options, so check the box description before you buy.
Prepare the surface
- Gloss first. Humbrol says its Decalfix gives the best results over gloss paint or a gloss clear coat, which helps prevent “silvering”, and its product guide warns to take care to avoid silvering over matt paints (Humbrol, Humbrol product guide). The same guide describes Humbrol Clear, a gloss medium for preparing painted surfaces for decals.
- Keep it clean. Microscale says the surface should be free of particles that could get under the decal film (Microscale).
- Plan the order. Work from the kit’s marking diagram and decide which decals go on first where they overlap.
The basic method
Airfix’s method for a first build (Airfix):
- Cut the decal out of the sheet with a hobby knife.
- Put it in warm water — Airfix recommends warm rather than cold, to help the decal slide off its backing.
- Dab a little water on the model where the decal will go, so you can still move it into position.
- Use a brush to slide the decal off the backing and onto the model.
- Gently work out any air bubbles with the brush, taking care not to tear the decal.
Humbrol adds: dab the decal dry with tissue, and don’t force-dry it, or it may shrink or crease (Humbrol).
Decal solutions
Plain water works, but setting solutions help a decal settle into panel lines and over curves.
- Humbrol Decalfix is a water-based solution that softens decals and secures them in place. Brush it onto the decal, or soak the decal for about 45 seconds, slide it into place and dab it dry. Humbrol gives a hard-dry time of 20–30 minutes (Humbrol).
- Microscale Micro Set is brushed onto the model where the decal will go. Microscale says it cuts through oils in fresh paint, softens the decal slightly so it conforms to the surface and turns the decal’s adhesive into a stronger one. Slide the decal on, blot gently without moving it, and leave it overnight (Microscale).
- Microscale Micro Sol is a stronger softener for difficult, irregular surfaces. Once the decal is dry enough not to slide, brush it on with as few strokes as possible and leave it alone: Microscale warns the decal is very soft at this stage and easily damaged until it dries. One application is usually enough (Microscale).
Strong setting solutions soften the film, so try them on a spare decal from the sheet first.
Seal the decals
Once the decals are dry, a clear coat protects them and evens out the finish. Microscale suggests its Micro Coat in flat, satin or gloss (Microscale); Humbrol describes its MattCote, SatinCote and GlossCote varnishes as the final coat on a painted and decalled model, fully dry in 24 hours (Humbrol product guide). These varnishes are solvent-based, so read the label and work somewhere well ventilated.
More help
- Start with building your first model kit for tools, glue and paint.
- Kits of the display team’s aircraft are on our USAF Thunderbirds kits shelf.
- Ready-made models with their markings already applied are on the USAF Thunderbirds die-cast shelf.