Collector guide
Building your first model kit: tools, glue and paint
What you need to build a Thunderbirds kit — the basic tools, polystyrene cement, acrylic or enamel paint — and a simple order of work, from the kit and paint makers’ own advice.
Facts last checked 19 November 2026
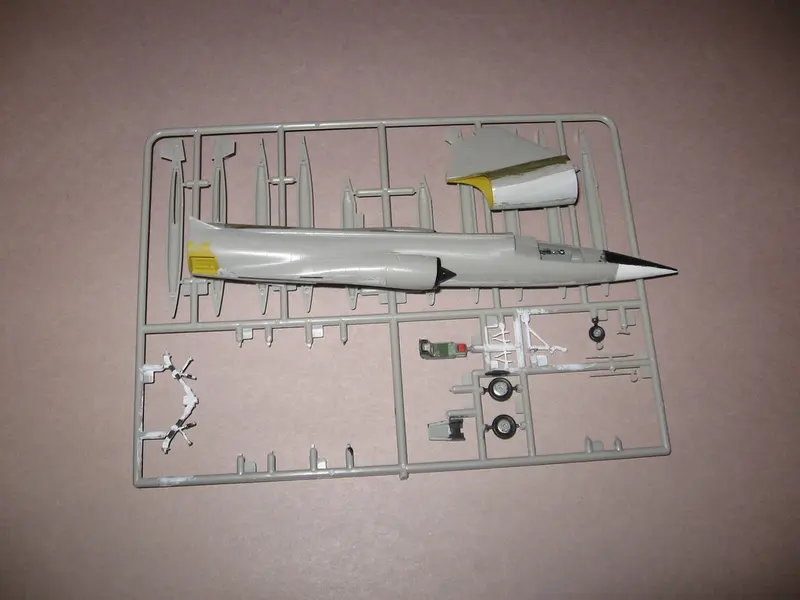
Thunderbirds kits — Aoshima’s and AiP’s TV craft, Trumpeter’s display-team jets, AMT’s Ford Thunderbirds — come as unpainted plastic parts on a frame. Here is what you need to build one, taken from the kit and paint makers’ own advice.
Check what’s in the box
- Glue and paint are usually extra. Bachmann says its AiP Thunderbird 1 needs paint and glue (Bachmann), and its Thunderbird 2 with Firefly “requires paint and glue – not included” (Bachmann). Round 2 lists its AMT 1957 Ford Thunderbird as “paint & glue required” (Round 2).
- Look at the skill level and part count. Airfix grades its kits from 1 (beginner, roughly 25–50 parts) to 4 (expert, 200 parts or more), and says the levels are a guide rather than a rule (Airfix). Other makers use their own systems: Round 2 rates the AMT 1957 Thunderbird at skill level 2, with 109 parts, while the AiP Thunderbird 2 with Firefly has over 380 parts.
- Check the scale, so the finished model suits your shelf — see scales explained.
The basic tools
Airfix’s list of essentials for beginners (Airfix):
- Sprue cutters (side cutters) to take parts off the plastic frame. Airfix warns against scissors, which can stress or snap the plastic.
- A hobby knife to clean up mould lines, flash and the little nubs left where parts joined the sprue.
- Sanding sticks or files to smooth seams.
- Tweezers for small parts and decals.
- Clothes pegs, bulldog clips or model clamps to hold parts together while the glue dries.
- Brushes in fine and medium sizes.
Airfix lists a cutting mat, low-tack masking tape, filler and a pin vice (a small hand drill) as useful extras, and an airbrush as the step up once you are more experienced.
Glue: polystyrene cement
Humbrol explains that its poly cement works by melting the surface of the plastic and welding the two parts into one bond. It advises dry-fitting parts first and using two thin applications rather than one thick one (Humbrol). Its product guide says its poly cements are surface dry in 10–20 minutes and fully dry in about an hour, and that a join can be undone before then by softening it again with more cement. For windows and canopies it describes Clearfix, a glue for clear parts that avoids the frosting some glues cause (Humbrol product guide).
Paint: acrylic or enamel
- Acrylic paint is water-based and dries more quickly; Airfix says it cleans up more easily and suits younger modellers (Airfix).
- Enamel paint is solvent-based and hard-wearing, and must be thinned and cleaned with enamel thinners.
- Stir well and paint thin. Airfix advises stirring paint before and during use, and applying thin coats so paint doesn’t run or fill fine detail.
- Paint small parts on the sprue, Airfix suggests — and keep the areas to be glued free of paint, because glue doesn’t work well on painted surfaces.
- Prime first. Airfix calls priming “an essential step”; if you use a spray can, work in a well-ventilated place (Airfix).
A simple order of work
- Read the instructions right through before you cut anything.
- Paint small parts while they are still on the sprue, keeping glue areas clear.
- Cut parts off with sprue cutters, clean up the nubs with a knife or sanding stick, and dry-fit them.
- Glue in stages, holding parts with pegs or clips while the cement dries.
- Prime and paint — Airfix suggests blocking in the darker colours first, then lighter ones, with detail last.
- Add the decals — see applying waterslide decals — and finish with a clear varnish.
Choosing a kit
Our model kits shelf covers the TV craft, USAF Thunderbirds kits the display team’s jets and Ford Thunderbird kits AMT’s car kits. If you are buying an older kit second-hand, ask whether the parts are still sealed and whether the decals and instructions are present — and read buying safely on eBay. Kits and glues often carry a 14+ age marking; see toy or collector’s model? if you are buying for a younger builder.